PyScript-fueled Jupyter Notebooks for your browser
Contents
A simple PyScript-fueled Jupyter Notebook running entirely in your browser - no server needed!

Working example
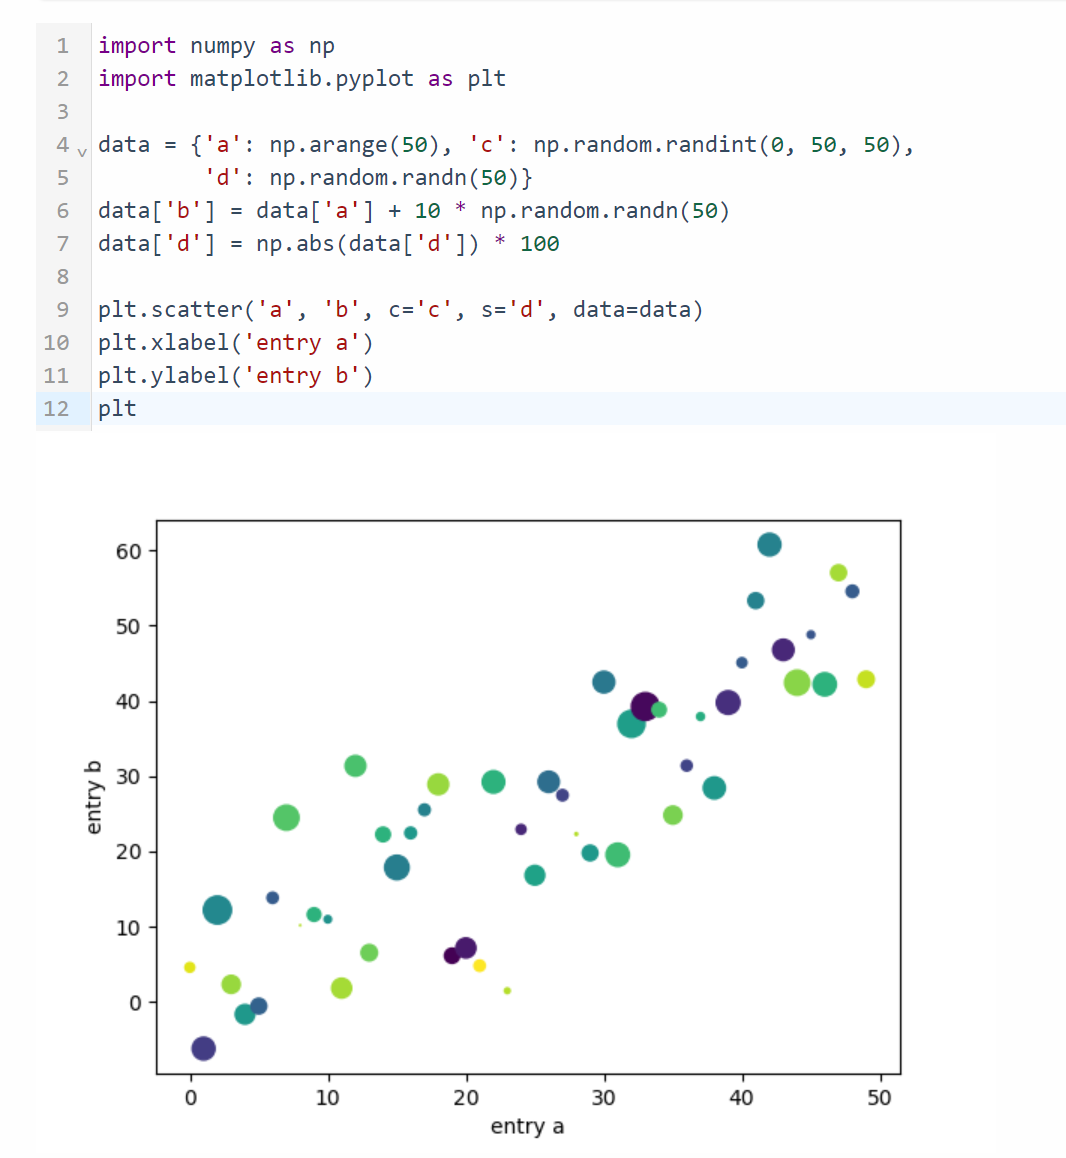
Below is a working example of a Python interpreter running right in your browser, importing some libraries and plotting a pretty graph with matplotlib!
Just go ahead, copy and paste the code from below in the blue input box and press SHIFT + ENTER on your keyboard or click on the play button just like in Jupyter. The first execution takes a few seconds but the following are actually quite fast!
#1 Plot a graph with matplotlib in PyScript
| |
#2 Load a remote excel file as a pandas df in PyScript
| |
#3 Load, manipulate and export excel file in PyScript
| |
Insert the code from above right here:
A prettier version
The code from above is borrowed from PyScript’s example site. Find the slightly modified basic version I used in this blog post here or the more sophisticated version here.
How does PyScript work?
PyScript is a fantastic project based on recent web technologies like Pyodide and WebAssembly. In a nutshell, it relies on modern browsers’ capability to run C/C++ code by compiling it to .wasm format.
Everything you need to add to your HTML file is the following line.
| |
It loads all the neccessary components via CDN and gets your interpreter ready.
If you need additional libraries include them with the ‘py-env’ tag. Not all libraries are supported yet but the very common ones like numpy, matplotlib or pandas are supported and work out-of-the-box!
| |
So put altogether, to get the above examples running, I embedded this code on this HTML page.
| |
Read my first blog post about PyScript to find out more.
Jupyter Notebooks and PyScript
Disclaimer: the above mini example is not affiliated with the official Jupyter project. It is simply an emulation of its REPL logic - Read-Eval-Print-Loop but great for simple examples, playing around with the code or for beginners struggling with the calssic overhead like failing installations, different OS or virtual environments.
Find out more about Pyscript and REPL here or see other examples here.
Endless possibilites with PyScript
PyScript’s community is actively developing more mature use cases like machine learning pipelines, geospatial processing and much more. They have already done an incredible job so far! Personally, I’m super excited about what’s coming next and that from now on I can finally share my working Jupyter Notebooks with the world without having to pay for a costly server or worry about Python’s dependency hell. If it runs in my browser it will run in yours as well! :)
Bonus: a Python interpreter in markdown
As you might know, I created this blog with Hugo and write all my blog posts in markdown. In most markdown engines the option to render HTML directly is either supported by default or can be activated.
So in my use case, Hugo + Markdown + PyScript is a perfect match for writing nice interactive geospatial data science blog posts!
Spread the word
The more people know about it, the faster the community will grow and push its development. So spread the word!