Zulip Server Setup Tutorial: zulip.gis.chat
Contents
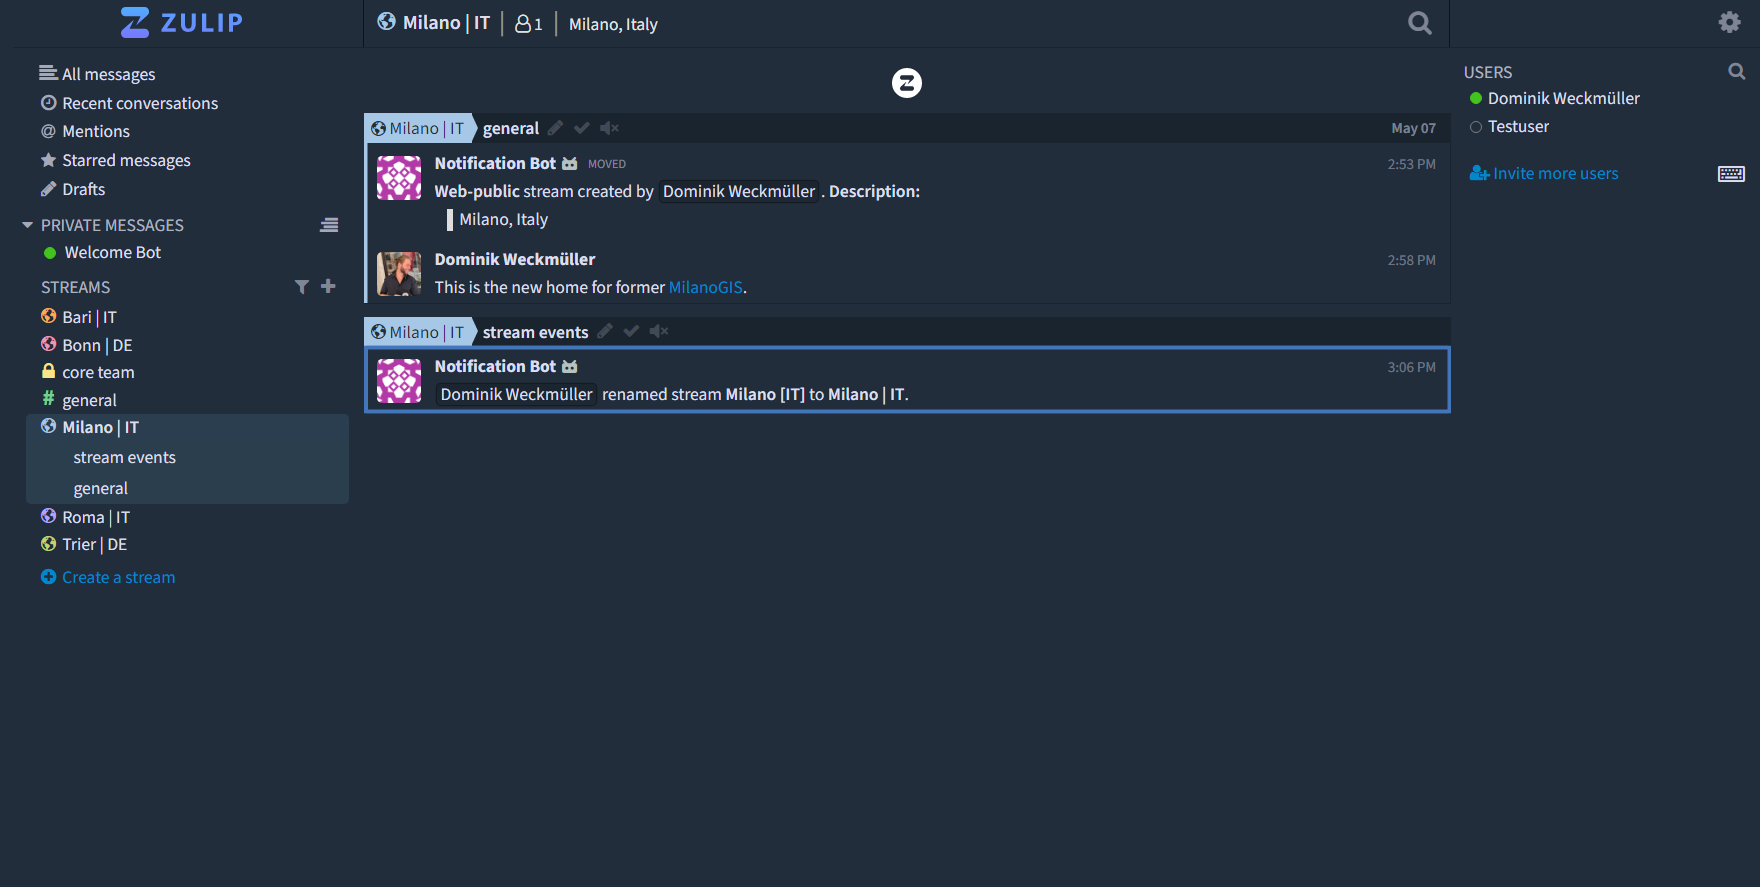
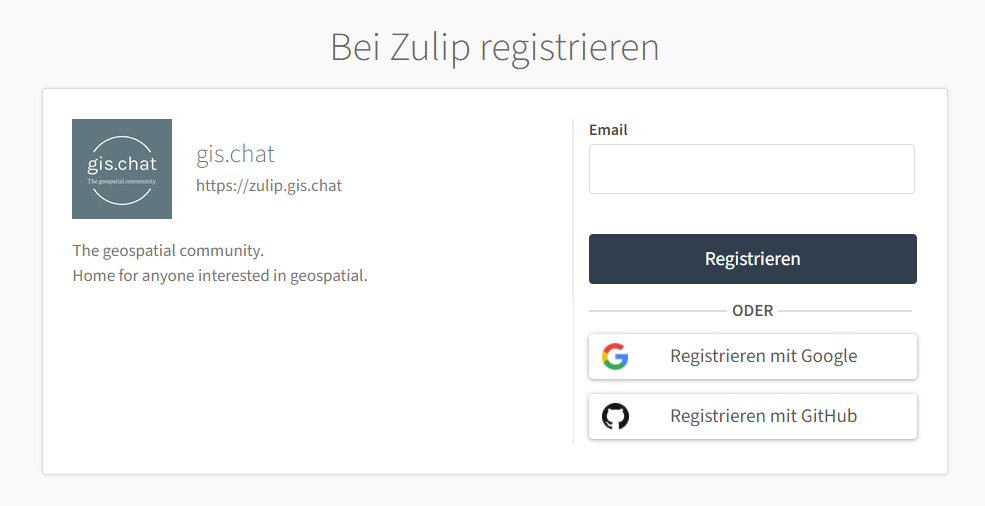
Let’s set up a public Zulip instance for our geospatial community! It’s live: zulip.gis.chat
Intro
There will soon be a dedicated blog posts about gis.chat and it’s rationale. Stay tuned! :)
In a nutshell, I found that our geospatial communities lack the geospatial and decided to build it myself.
Zulip has a unique threading-model that works pretty well for structuring conversations - in our case spatially!
We could have gone with the free plan of Zulip but it naturally comes with certain limitations. Ultimately, we should always own our platform.
Rent a server on Hetzner
For this tutorial we’ll go with Hetzner as one of the largest data center operators in Europe. Many people, including my friends and colleagues used their services for years and are pretty satisfied. I am not affiliated in any kind of way with Zulip or Hetzner.
Hetzner Germany uses 100% hydropower from the alps.
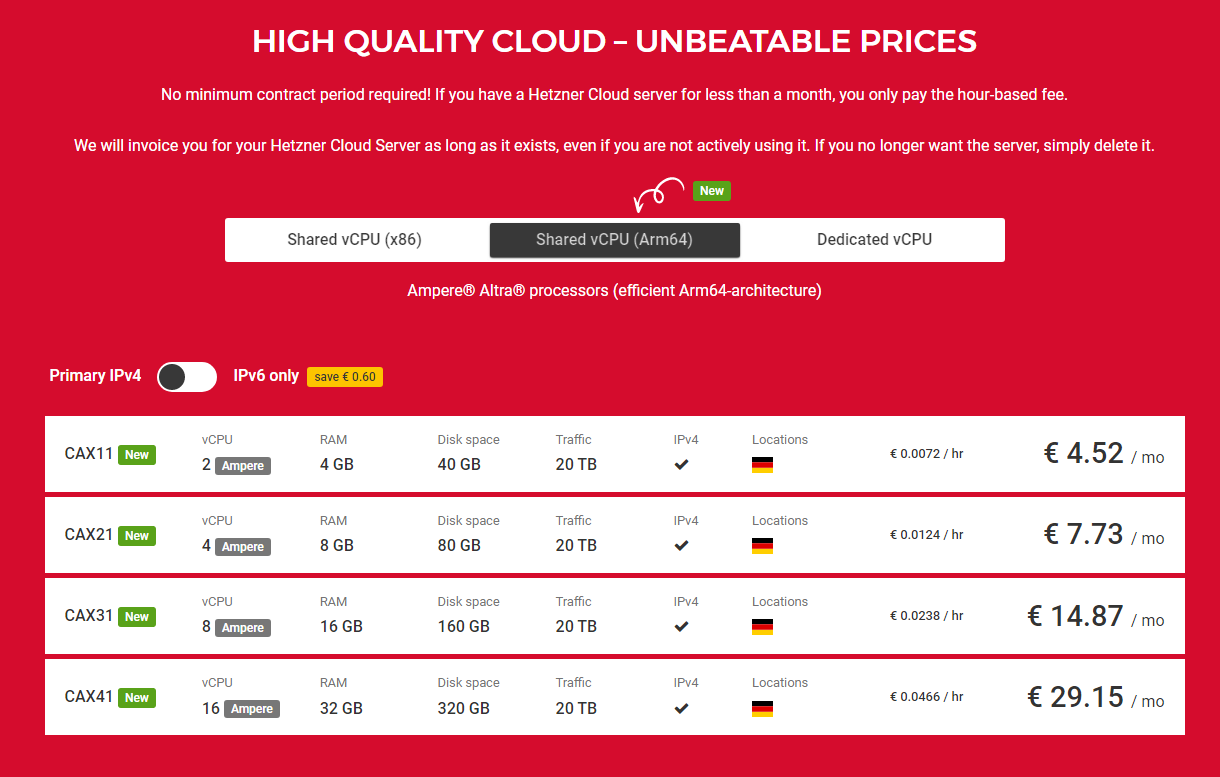
They recently included a very attractive offer with new Arm64 CPUs in their cloud portfolio.
As Zulip requires a minimum of 4GB RAM (even though I personally bumped into issues with 4GB on x86 CPUs), we will go with the CAX11 as the cheapest offer of just 4,52€/month. Scaling up is done with just a few clicks anyway.
The buying process is straight forward. Simply enter your payment data and you’re good to go. When buying the server, choose Ubuntu 22.04 and add your public SSH key so you can log in. Here you see that I just created the new zulip-gis-chat server.
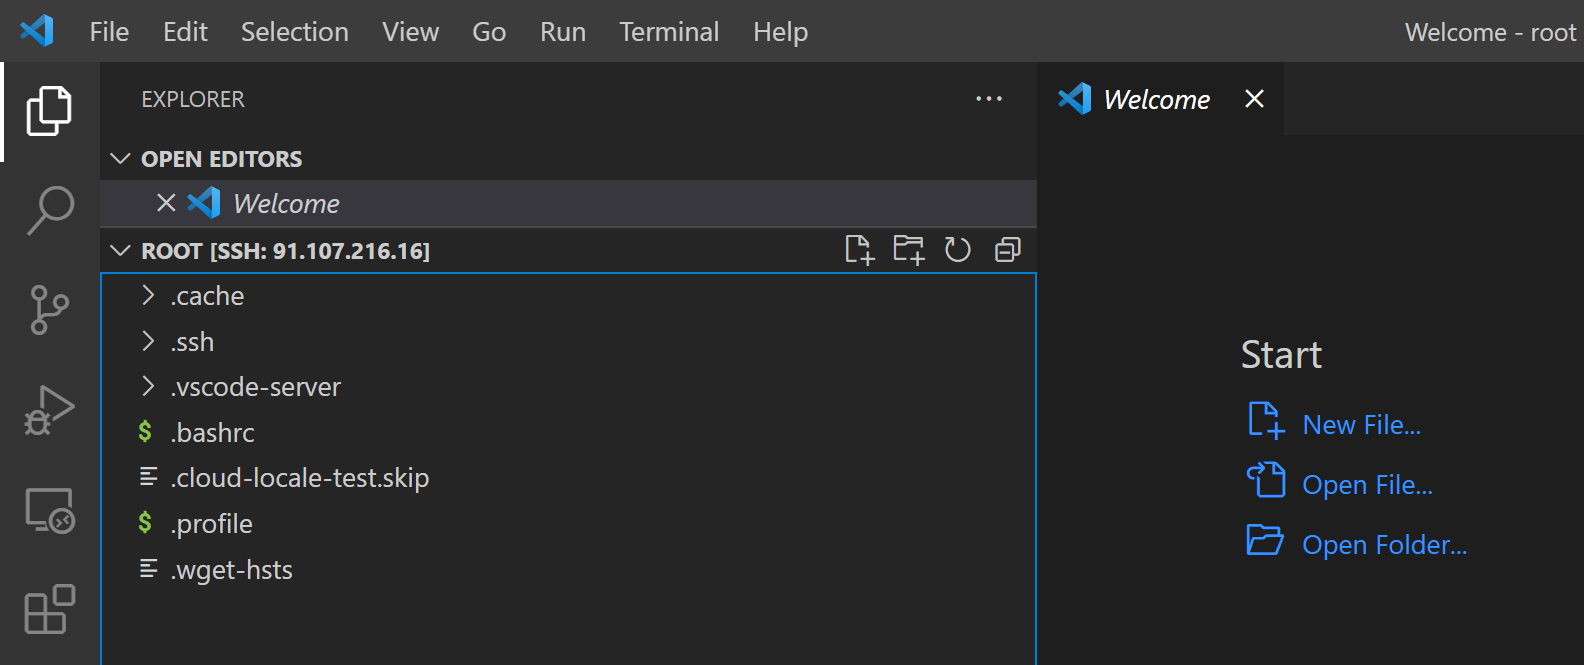
SSH access with VS Code
You can simply use a terminal or directly set up VS Code. I prefer the latter so I can easily edit files, upload and download files via drag’n’drop.
Ubuntu
If you’re on Ubuntu and set up your SSH key(s) properly, you just click on the bottom left of VS Code
- Open a Remote Window
- Connect to Host (Remote SSH)
- Enter your server’s IP
- If you’re SSH key has a password, you’ll be prompted to enter it And you’re done.
Windows
If you’d like to define a new profile where you can add SSH keys stored in other locations (e.g. due to putty on Windows) do as follows:
- Open a Remote Window
- Connect to Host (Remote SSH)
- Add New SSH Host
ssh root@<server-ip> -i putty/path/to/your/sshfile- You’ll be promted to update your config file, go ahead
The host is now saved.
Login
Now log in by choosing the right profile. You’ll need to specify once that you’re on Linux and enter your SSH password. After that, you should have access to your server!
If you click on the left you can open any directory, e.g. root. As you have full access to the system, you can edit, create or delete files.
New terminal
You can open a new terminal (top menu) and browse the file system. We will execute below installation commands here.
Add a subdomain
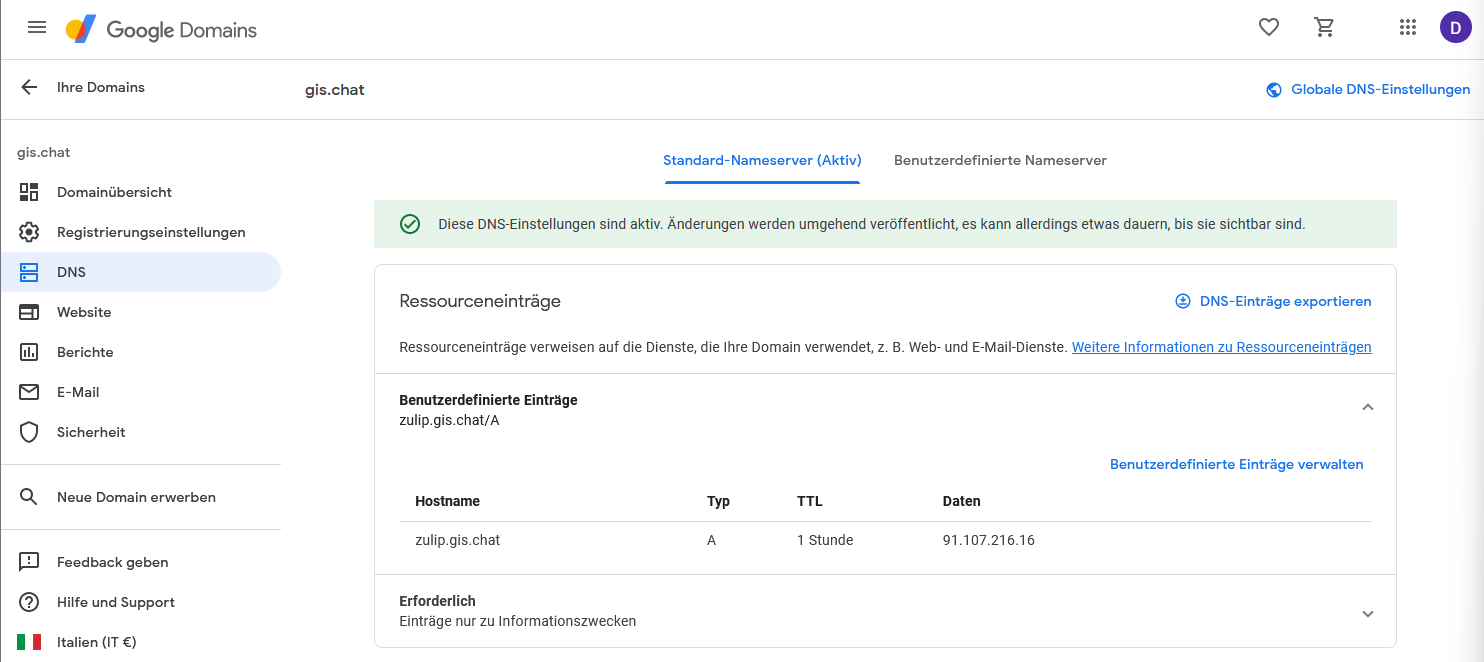
I bought the gis.chat domain half a year ago on Google Domains for 38€/year. Setting up a subdomain is pretty straight forward. Just add an A record with the subdomain and the IP it should point to.
zulip.gis.chat is born!
Note that changes to A records might take 30 mins to 24 hours until the are globally processed, so don’t be surprised if it doesn’t work asap.
SMTP Email service
You’ll need an email server to send mails for e.g. password resets etc. There are many so-called “transactional email services” out there with generous free plans.
Zulip recommends e.g. Mailgun or Sendgrid but they generally want your credit card data to activate the free plan or they even want to manually verify your site.
I searched a little and found a better alternative brevo.com with 300 free mails per day, no payment data required. Great!
Install Zulip
Having the active subdomain and the SMTP provider, we can finally install Zulip. We’ll follow their guide.
1. SSH into server
SSH into the server and download the latest release.
| |
2. Installation script
Now we’ll install it. This command uses Certbot for automatic SSL and assumes that you are root user.
| |
So for zulip.gis.chat it becomes:
| |
On success, it will print a link that we’ll use in the next step.
3. New organization
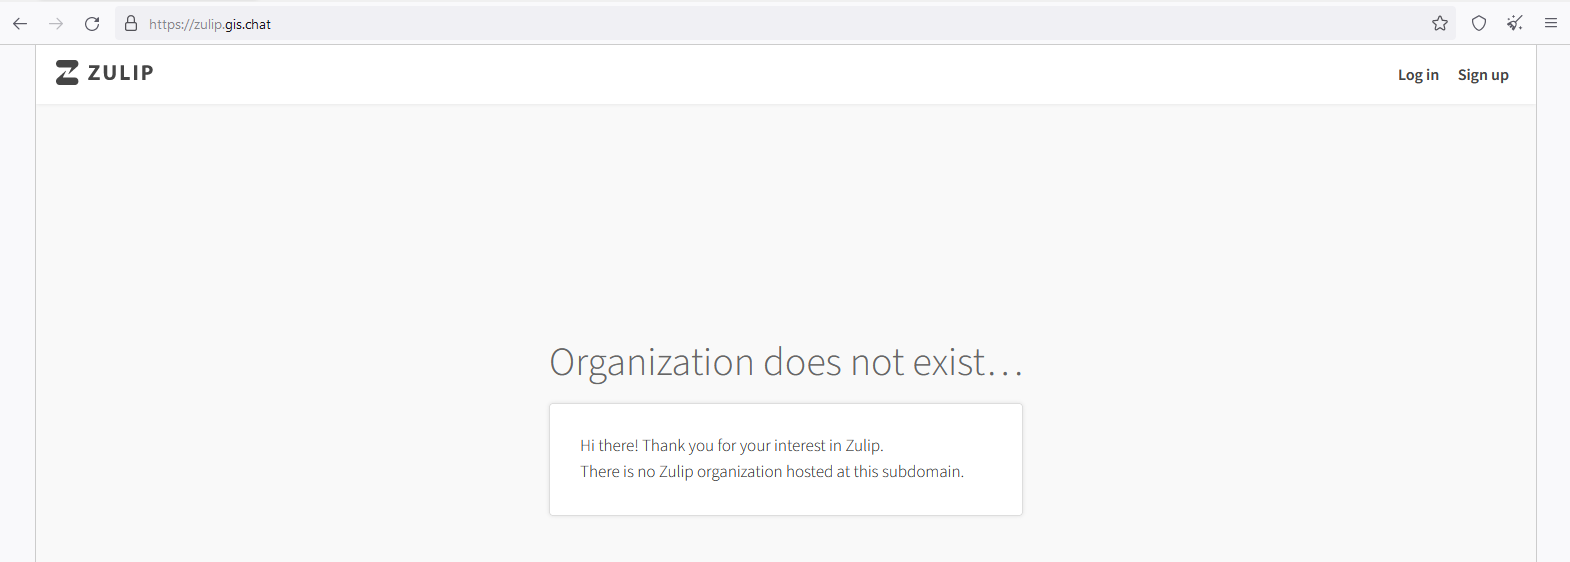
If everything worked (and the Zulip team luckily puts a lot of effort in easy installation), you should be able to see this message:
Awesome! This means that:
- Your server is working
- Zulip is correctly installed
- SSL is working
- The subdomain was configured correctly
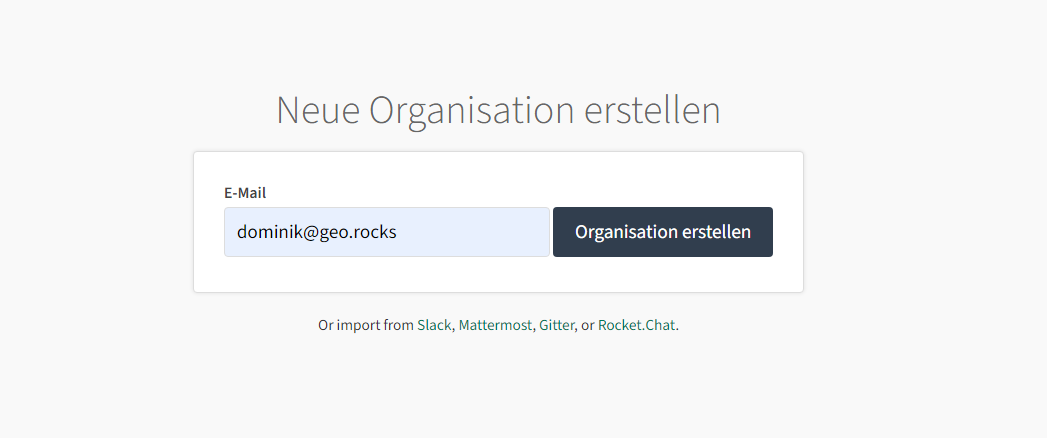
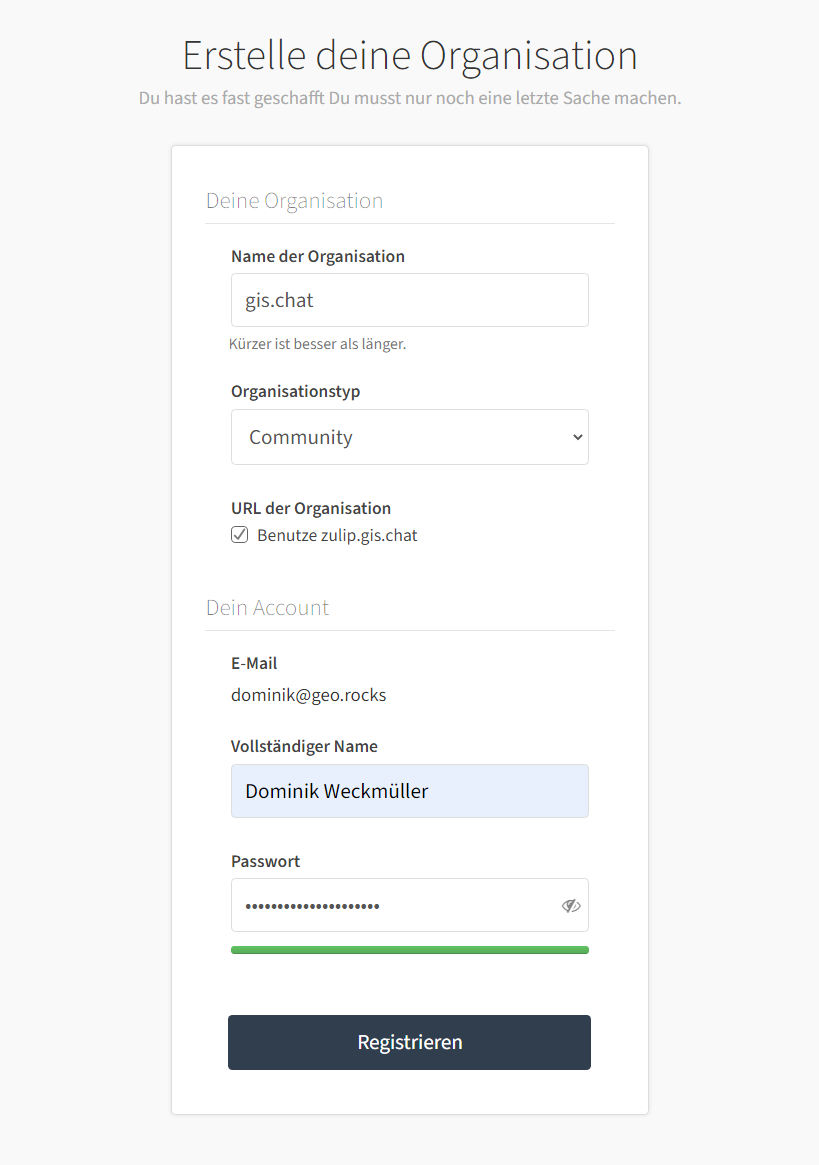
Now access the link Zulip printed after installation and follow the instructions. Register with your personal Email as admin.
4. Connect SMTP
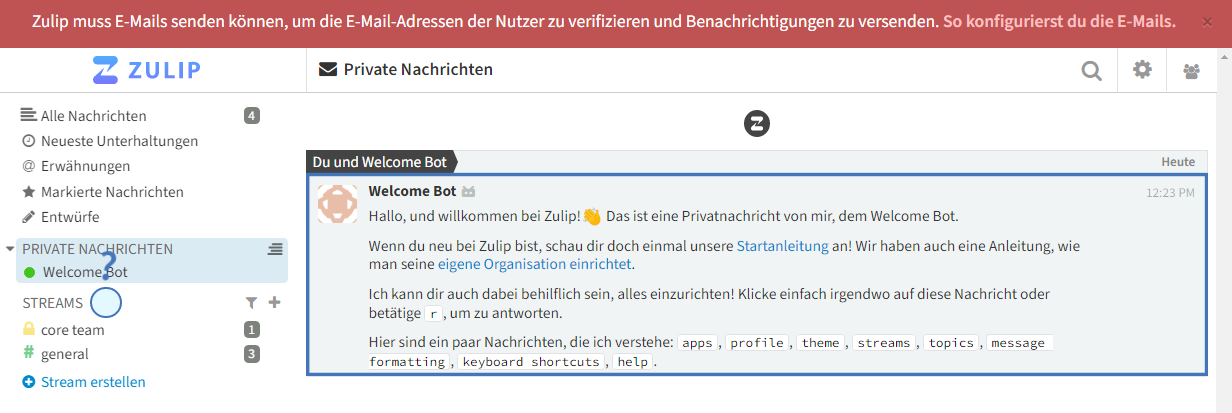
It’s live and working!
However, people cannot register yet, so let’s connect the SMTP service to Zulip. All you need to do is add the credentials from your SMTP provider.
For brevo you can find the credentials here.
Enter them in /etc/zulip/settings.py and the password in /etc/zulip/zulip-secrets.conf.
| |
Restart the server with
su zulip -c '/home/zulip/deployments/current/scripts/restart-server'
and if you like, change the settings so users can register without invitation.
5. Add auth methods
If you’d like to add registration via Google, GitHub or other services, it’s pretty straight forward. Simply follow the instructions in settings.py. For now, I added Google and GitHub auth.
6. Mobile push notifications
For mobile push notifications uncomment in settings.py:
PUSH_NOTIFICATION_BOUNCER_URL = 'https://push.zulipchat.com'
After register your server with
| |
7. Maintenance
Maintenance for Zulip is little effort unless you expect thousands of users at once. The server is usually stable (if it has enough RAM) and in my experience only crashed when too little resources were available (e.g. too many users for too little RAM). In this case just upgrade the specs:
- turn off the server
- upgrade your plan
- turn on the server
The Zulip instance is automatically starting when the server starts. In case anything goes wrong just restart the sever with:
su zulip -c '/home/zulip/deployments/current/scripts/restart-server'
Just be careful that you never execute the Zulip scripts as root but always as Zulip user or with su zulip -c in front of the command. I did it once which led to an awful bug where Zulip changed ownership on the system messing with the DB and other components. No fun, but something easily revertible with chown -R zulip:zulip /home/.
If you have any questions, the community chat is usually very responsive or simply post an issue on GitHub if you find some bugs.
8. Connect!
The instance is up and running - invite your friends to your open source community and connect!
Plugins
Have a look at the tons of different integrations for GitLab etc. or build a bridge to other messenger services like Signal/WhatsApp/Telegram, platforms like Teams/Slack/Mattermost or the matrix protocol! You can also propose or build your own plugins, like an integration for semantic search.
Summary
Setting up Zulip on a cloud (or dedicated) server is very straight forward and affordable considering the entry-level cloud server pricing of below 5€/month!
If you would like to get a 20€ voucher for Hetzner use my referral link: https://hetzner.cloud/?ref=4T5BGmSkDTrb. I’ll also get a 10€ voucher I can use to host the infrastructure for our open source community! :)
Let me know what you built and feel free to drop me a message on zulip.gis.chat, LinkedIn/Twitter/Mastodon or via Email!
